Using Notices
The "Notices" shortcode enables you to call out pieces of information - sidebars, warnings, tips, etc.
To create a notice on a page, you can use the notice shortcode.
You use the notice shortcode, with the first parameter being one of note, info, tip, and warning. Then add a title for your
note in quotes as the second parameter. The inner body of the note can be whatever markdown you want to create.
The following shortcode syntax within a markdown doc:
1{{% notice note "Note" %}}
2This is a standard "note" style.
3{{% /notice %}}
will render as:
This is a standard "note" style.
The other three variants follow.
Here is the "info" style.
Here is a "tip" variant of a notice.
Here is the "warning" flavor of a notice.
Also note that the content of a notice can contain anything you could put on a normal page - as shown below:
This is a notice that has a lot of various kinds of content in it.
- Here is a bulleted list
- With more than one bullet
- And even more than one level
Code blocks are fine here, too....
1public void SayHello()
2{
3    Console.WriteLine("Hello, world!");
4}
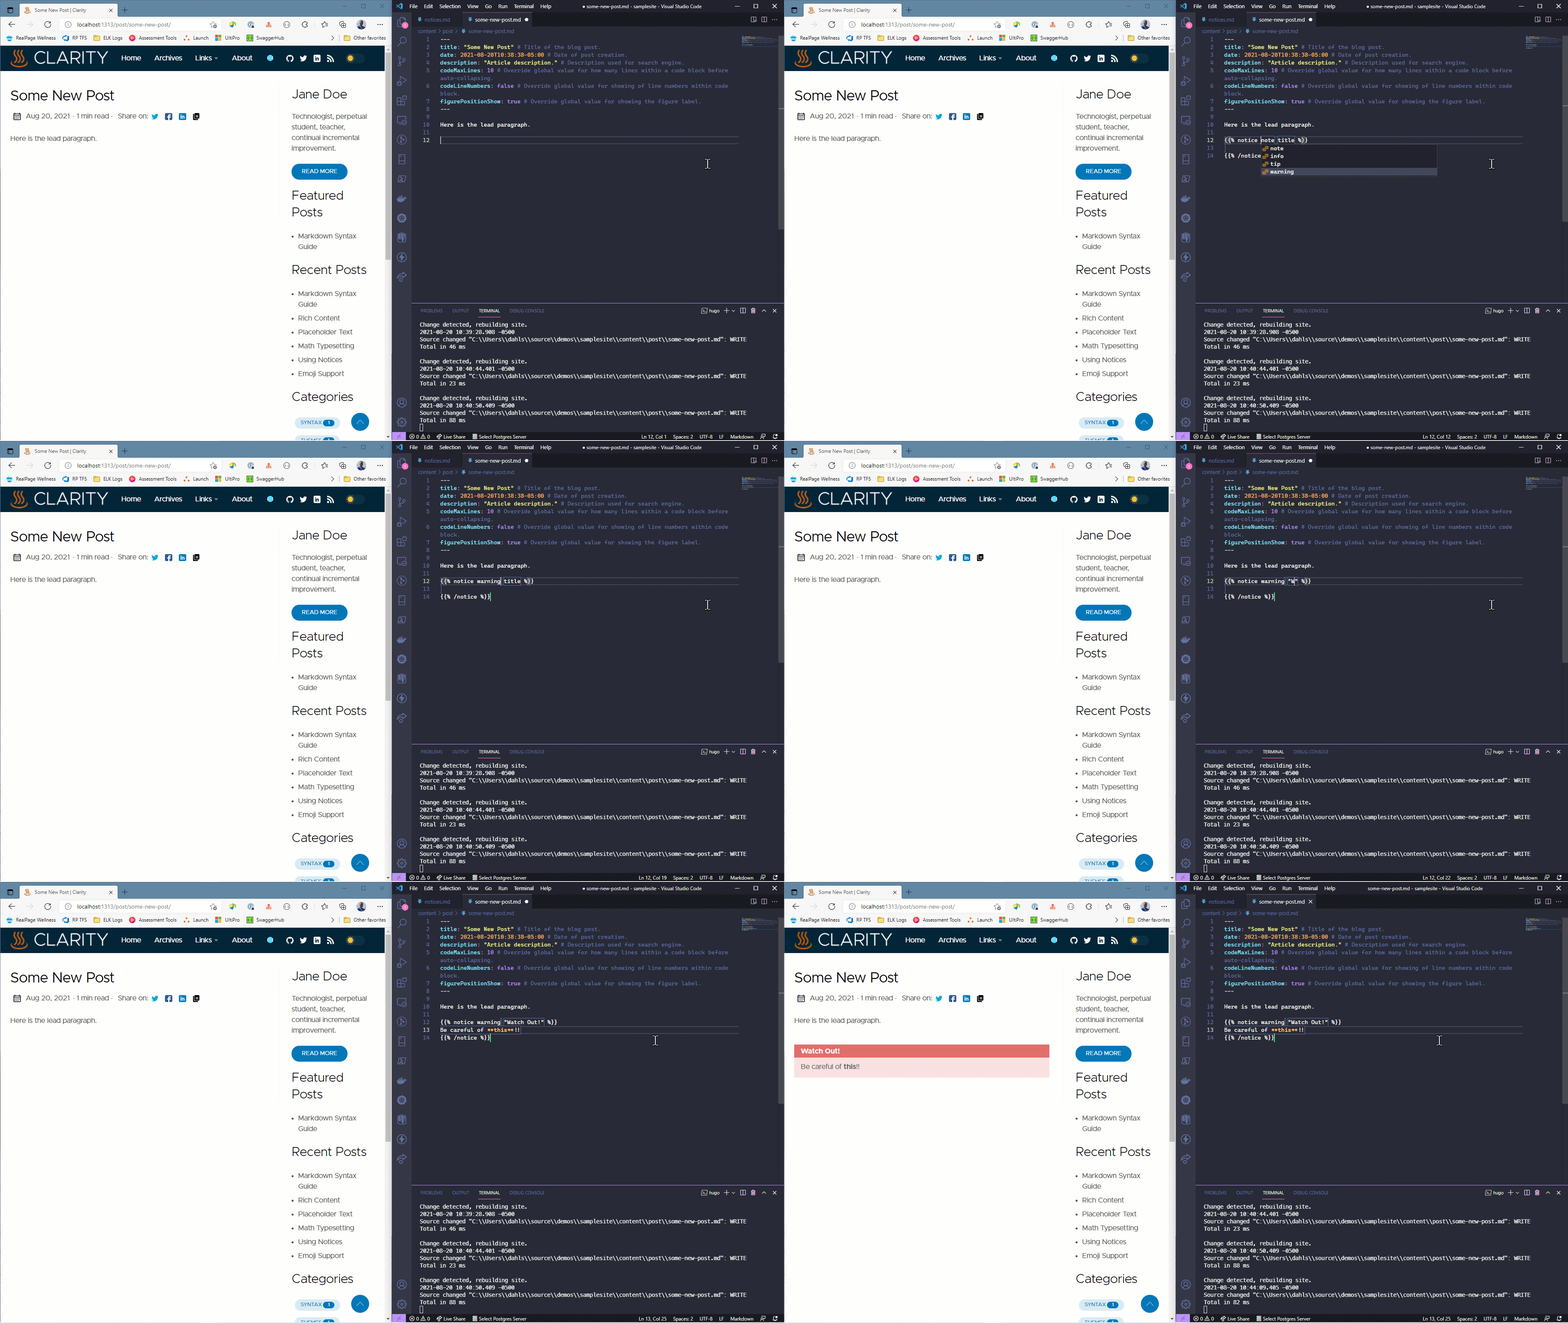
If you're using VS Code for your editing, copy the .vscode\clarity.code-snippets file into a .vscode root folder on your repo. This will enable you to type
note then <tab> then choose with up/down arrows which flavor notice you want, then <tab> again to provide a title, then <tab> to add your content!

To use the snippet, you need to first enable quickSuggestions for Markdown (one time only):
- Go to
Preferences->Settingsthen search forquickSuggestions - Follow the link to Edit in settings.json
- Toward the bottom of the file, paste in the following JSON:
1"[markdown]":  {
2    "editor.quickSuggestions": true
3  }
- Close and save the settings.